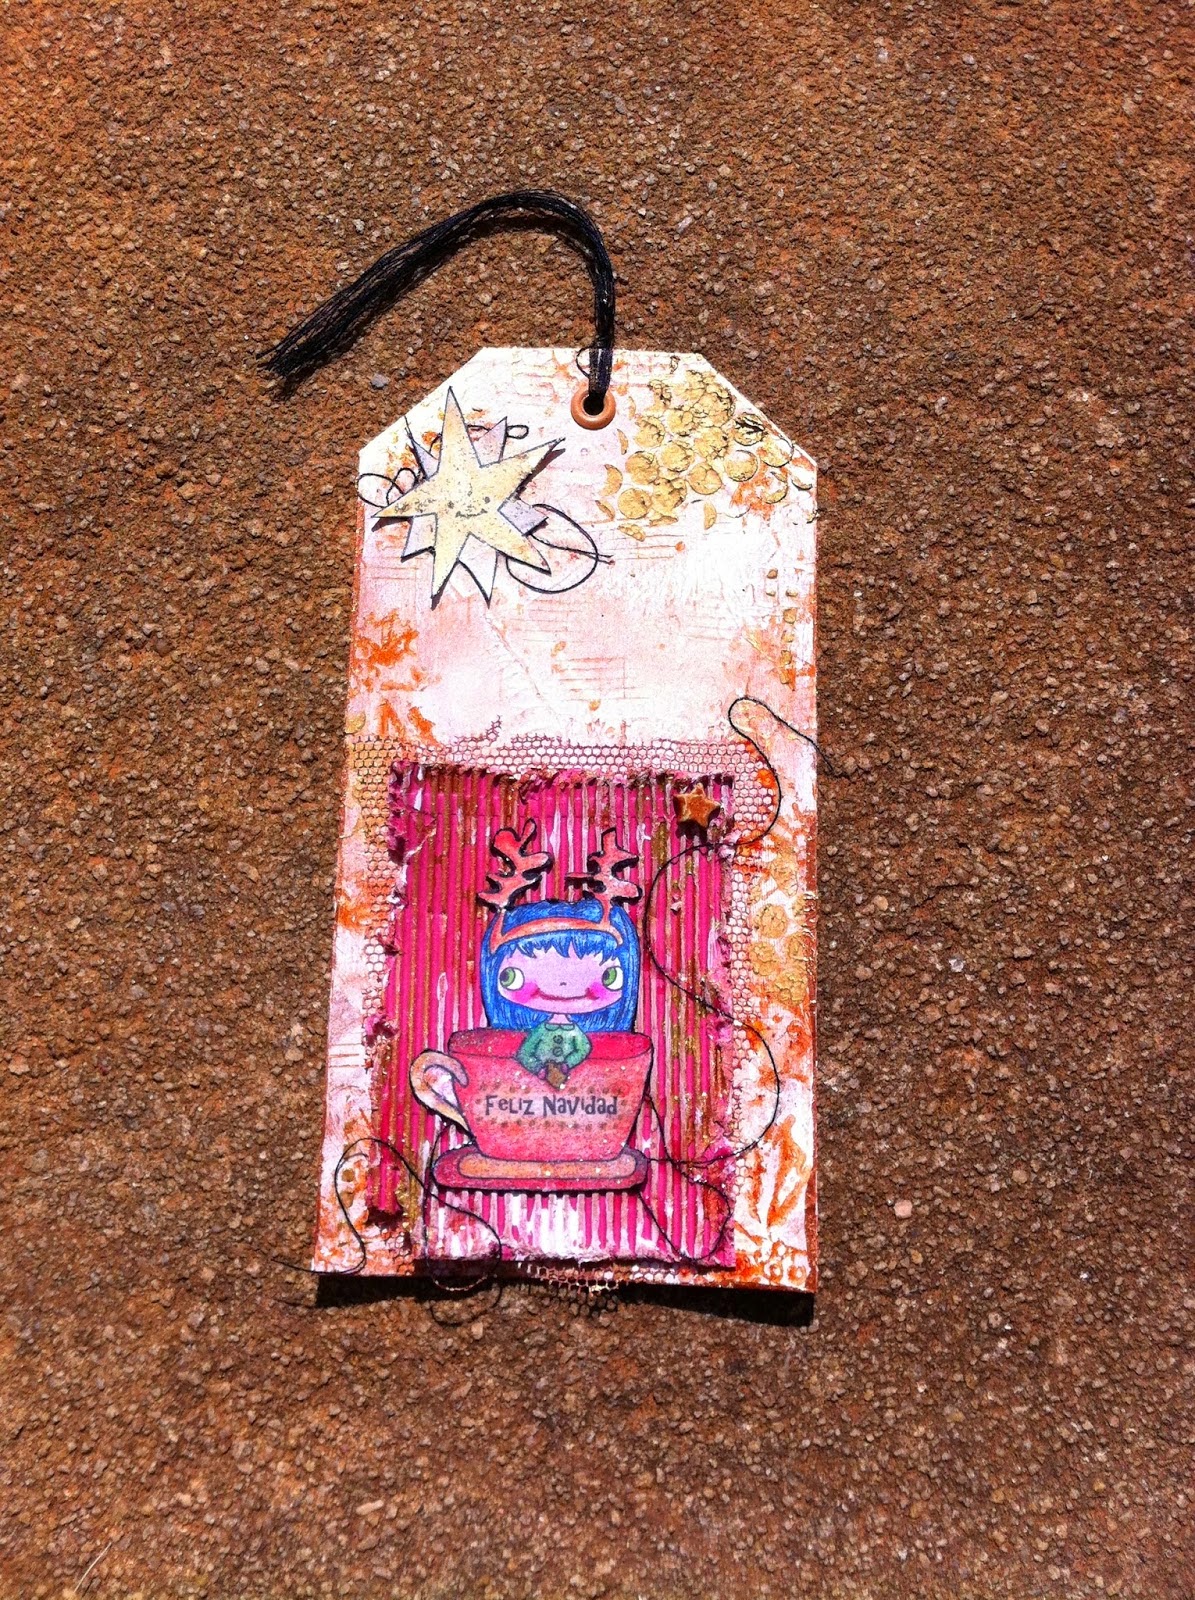
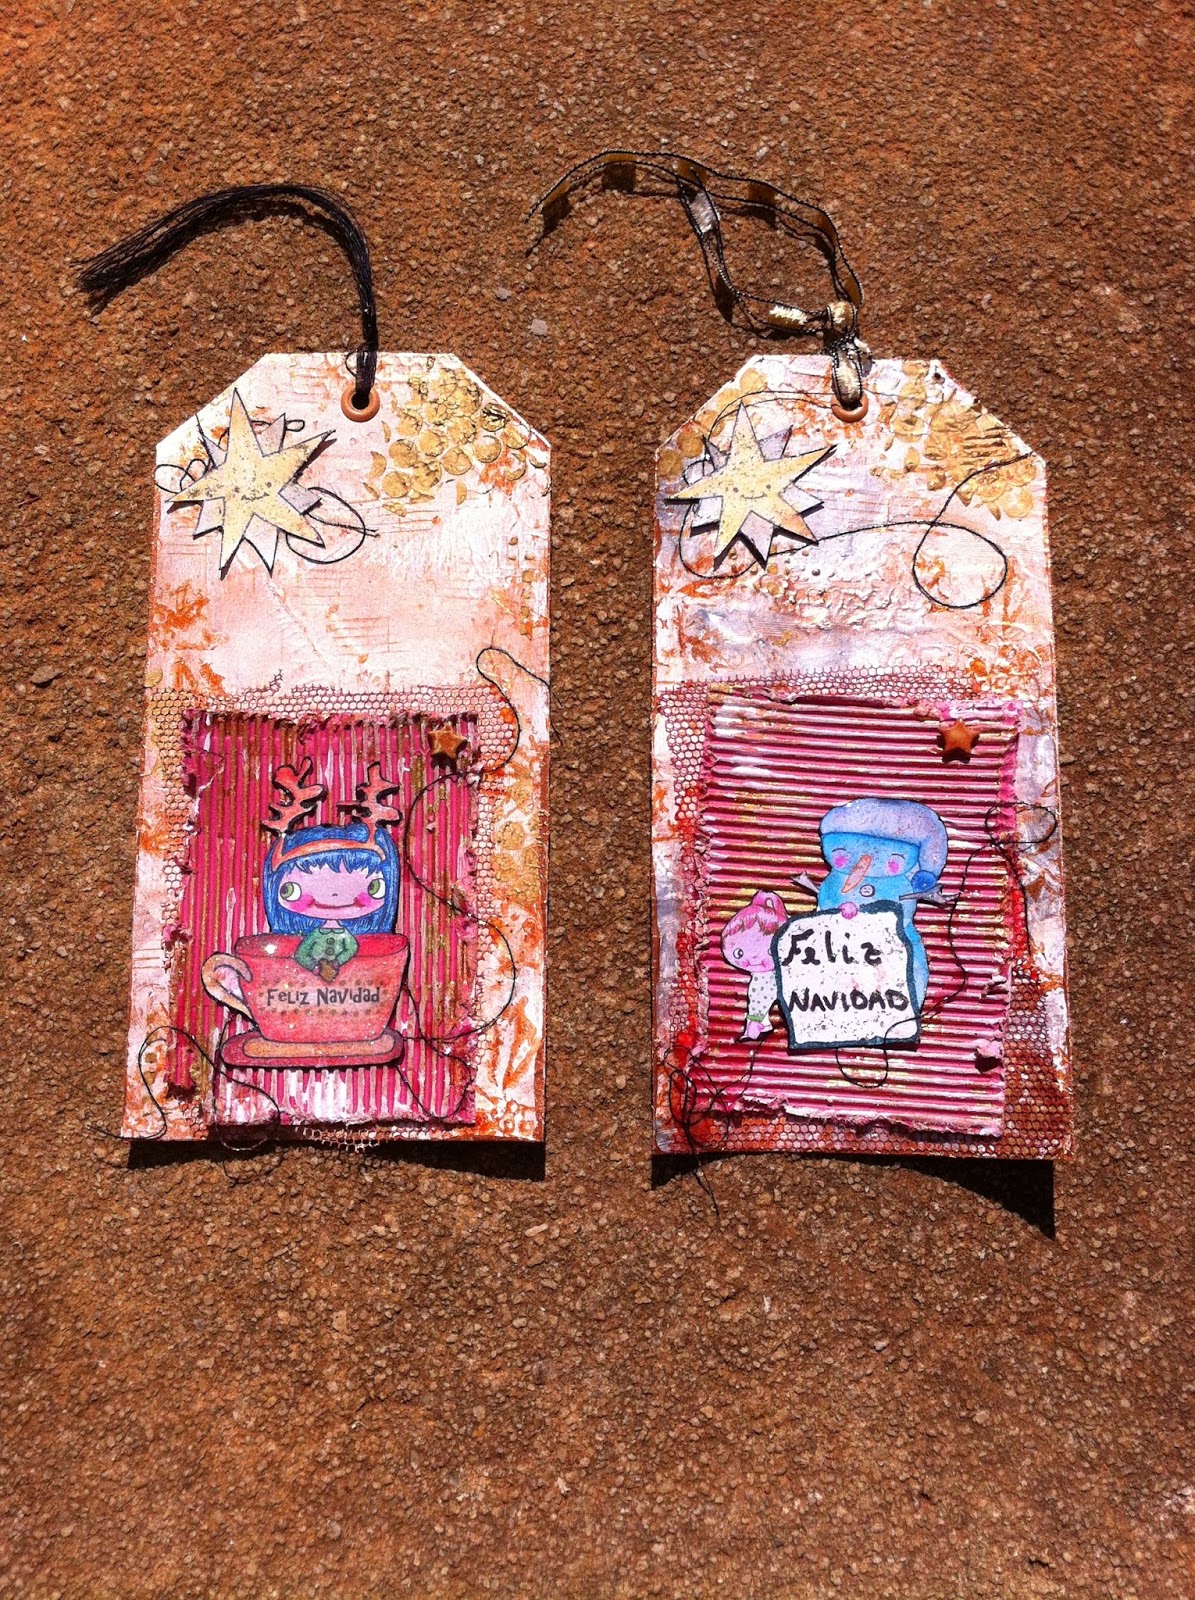
Hace poco publiqué en mi página de Facebook esta tag (tarjeta) que veis en la primera foto. Alguien me preguntó como la había hecho así que he decidido hacer una nueva tag siguiendo casi los mismos pasos con tutorial incorporado. Este tutorial servirá también como actividad para el Campamento de Verano en el grupo de FB "El Desván del Arte".
Not long ago, I posted the tag you see in the first pic on my Facebook page. Someone asked me how I have created it so I decided to do a new one showing its step by step with a tutorial.
Aviso que hay bastantes fotos.
Warning: photo heavy
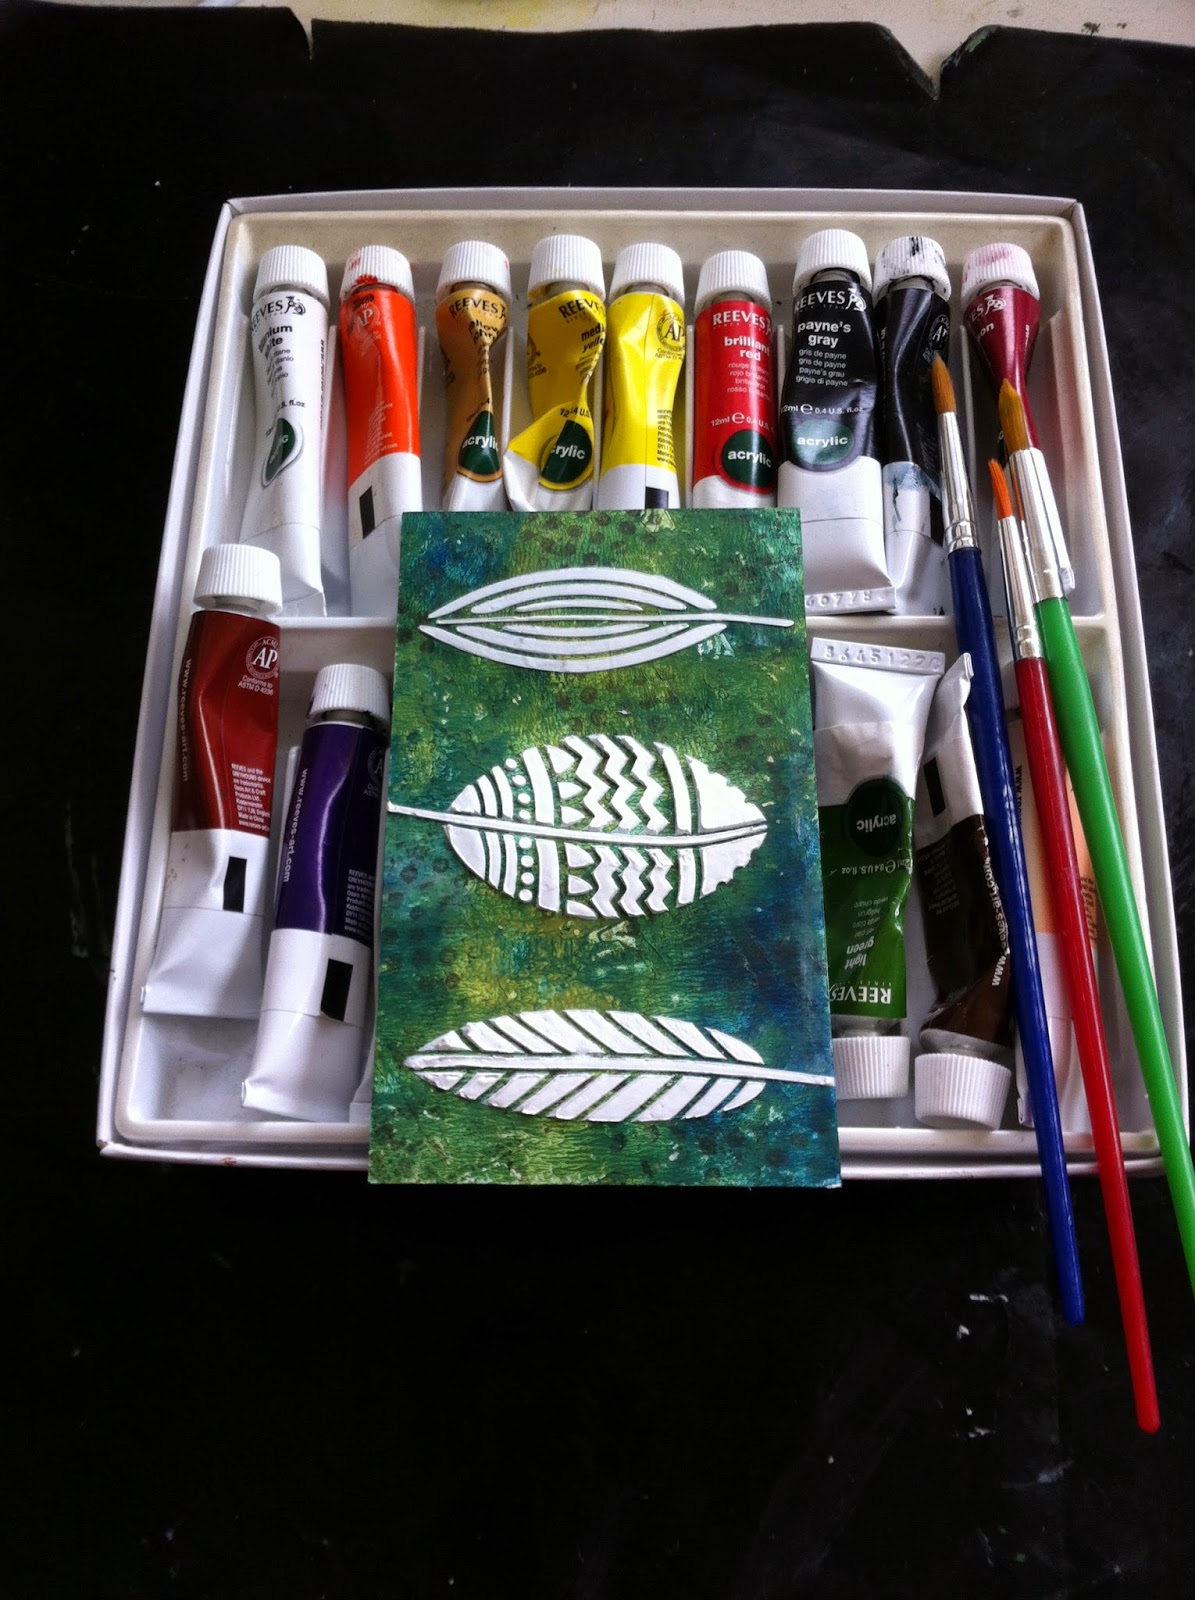
Esta es la nueva tag y a continuación os muestro los pasos en un tutorial:
New tag and tutorial:
Todo el mundo merece tener la oportunidad de volar (Traducción)
1.Aplico gesso con espátula pues le da textura al fondo.
I apply gesso with a spatula so I get nice texture on the background
2. Gesso seco. Se puede observar perfectamente la textura que se crea si lo aplicamos con espátula.
Dried gesso. You can see the texture here.
3. Selecciono los colores de pintura acrílica que quiero usar para mi fondo. La voy a aplicar con el rodillo (cuestión de preferencia personal).
I select the acrylic painting colours I want for my background. I'll apply them with a brayer (personal preference, nothing else)
4. Pongo pequeñas gotas de pintura por la tarjeta a mi gusto.
I put drops of paint onto it.
5. Este es el resultado una vez pasado el rodillo en diferentes direcciones.
This is the result after extending the paint with the brayer in different directions.
6. Escojo sellos para el fondo y tinta indeleble (sin base de agua).
I choose stamps and waterproof ink
7. El fondo ya con los sellos estampados
Background already stamped. One more layer done.
8. Ahora toca seleccionar la plantilla que quiero para este proyecto. Una vez hecho esto, aplicaré la pasta modeladora con espátula.
We select a stencil. I'm going to use again the spatula to apply the modelling paste.
8. Resultado de la aplicación
Modelling paste applied and dried.
9. Hay muchas maneras de colorear la pasta modeladora. Para este caso, como quería colorear las plumas en diferentes tonos, he preferido pintar sobre la pasta en lugar de mezclarla antes de ponerla.
There are lots of different ways to colour in the modelling paste. In this case, as I wanted to have the feathers in different tones, I have chosen to paint on top of the paste instead of mixing the colour in it before application
10. Las plumas ya pintadas con diferentes tonos. Me encanta este paso :)
Feathers all painted. I really enjoy this step :)
11. Ahora con rotuladores (blanco y negro) reseguiré los contornos para hacer que las plumas destaquen más sobre el fondo y también haré dibujos geométricos sobre ellas (doodles).
With pens (black and white) I follow the edges to make the feathers pop up even more. I also do some doodling.
12. Doodling terminado (también he hecho un falso pespunte alrededor de la tarjeta para crear una especie de marco).
Doodling done. I've also created a frame for the tag with a faux stitching.
13. Para proteger la pintura y a la vez dar algo de brillo, recubro las plumas con barnizante.
To give gloss and protect the paint, I do a coat of gloss medium.
14. ¡Ya casi hemos acabado! Imprimo la frase que quiero poner en la tarjeta, pego la hoja sobre cartulina (para dar consistencia) y con tintas distress le doy algo de color a las palabras.
Nearly the end! I print the chosen quote, glue the paper onto thin cardstock to make it sturdy and I ink the words with distress inks.
15. Recorto y pego las palabras de forma que me guste. Les doy también barniz y ¡proyecto terminado!
I cut out and glue down the words as I like. Another coat of gloss medium onto them and project finished!
Espero que el tutorial no se os haya hecho pesado.
I hope you have enjoyed the tutorial.
Muchas gracias por las visitas y los comentarios.
Thanks for visiting and for your comments.


